Tenant Branding Guide
Admin Guide
BriefSpec
Introduction
Tenant Branding lets Application Admins replace BriefSpec system marks and labels with the tenant’s own identity. Changes apply across the workspace for users of that tenant: the sidebar, support contact, and, when enabled, outbound email.
You edit branding from a visual canvas that mirrors the application layout. Click a pencil on a hotspot to upload a logo or change a label. Use the on-canvas toggles to show or hide the system mark and the Powered By Camptra logo. Nothing is guessed for you: each save updates the tenant immediately.
This guide explains how to open branding, what you can change, logo sizes and file rules, and how plan and privilege settings affect what you see. Login-page logos remain system-managed and cannot be edited.
Accessing Tenant Branding
Sign in as an Application Admin. Open Settings, click on the ‘Miscellaneous’ tile, then open the Branding tab.
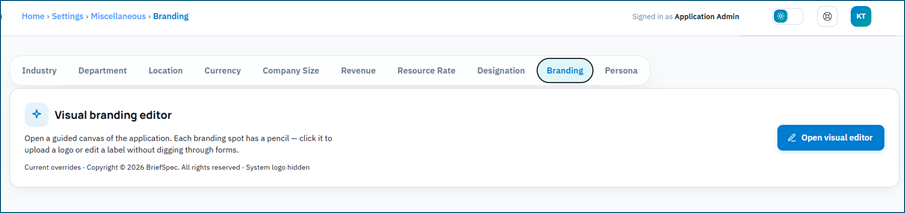
The Branding tab shows the Visual branding editor card. Click Open visual editor to open the full-screen canvas titled Customize your branding.
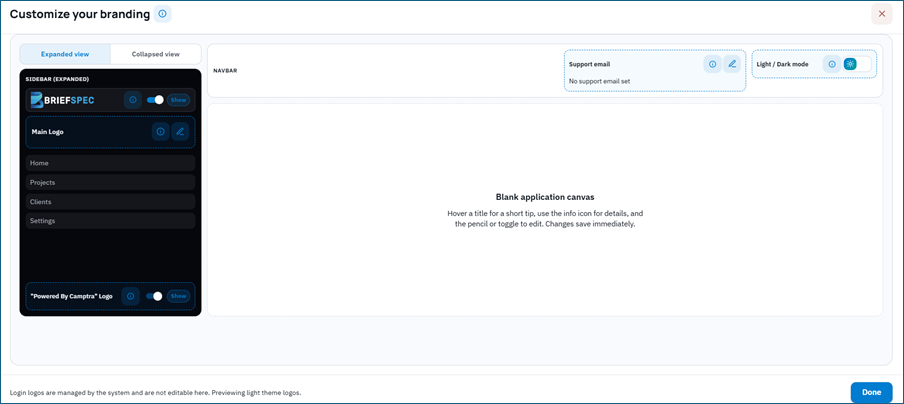
If your role can view branding but not edit it, the canvas opens in view-only mode. If branding is not enabled for the tenant, the tab asks you to contact support instead of opening the editor.
Before you can change branding:
- Your role must have Logo Changes privileges. Viewing the tab needs a Logo Changes view privilege. Saving logos and labels needs Read and Edit on Logo Changes Add or Update.
- Branding and White Labelling must be included on the tenant subscription plan. If it is not, you can explore the canvas but editing is disabled until the plan is upgraded. Branding changes are only allowed for the Business and Enterprise plans.
- Individual branding options (logos, support email, Powered By) are enabled per tenant.
- Hiding the Powered By Camptra logo requires the plan feature that allows removal of that mark. If your plan does not include it, that toggle stays locked.
Use the information icon next to Customize your branding for a short reminder: hover titles for tips, use info icons for details, and edit with the pencil or toggles. Use the canvas theme switch to preview light and dark logos without changing the live application theme for other users.
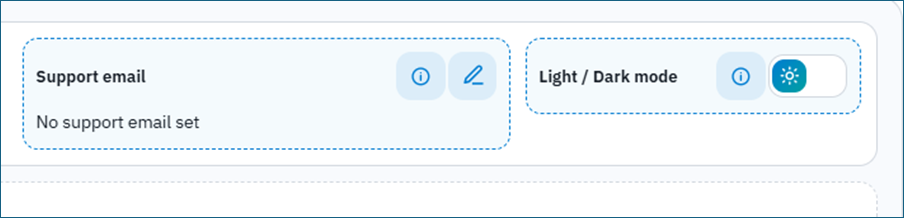
Using the Visual Editor
The canvas is a guided picture of the application. The left side shows the sidebar as users see it. Hotspots sit on the logos, support email, and footer marks you are allowed to manage.
Switch Expanded and Collapsed to preview the sidebar in both widths. Switch Light and Dark with the sun and moon control on the canvas to check the matching logo for each theme.
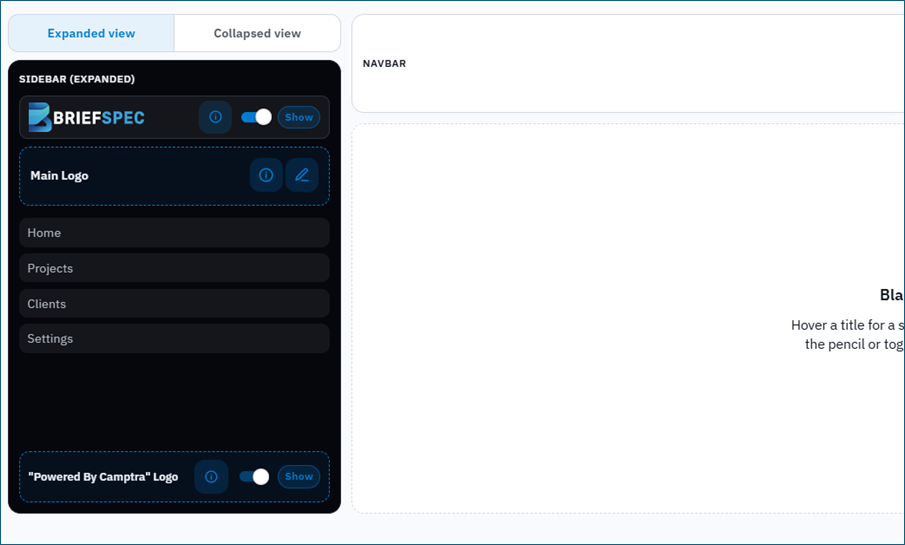
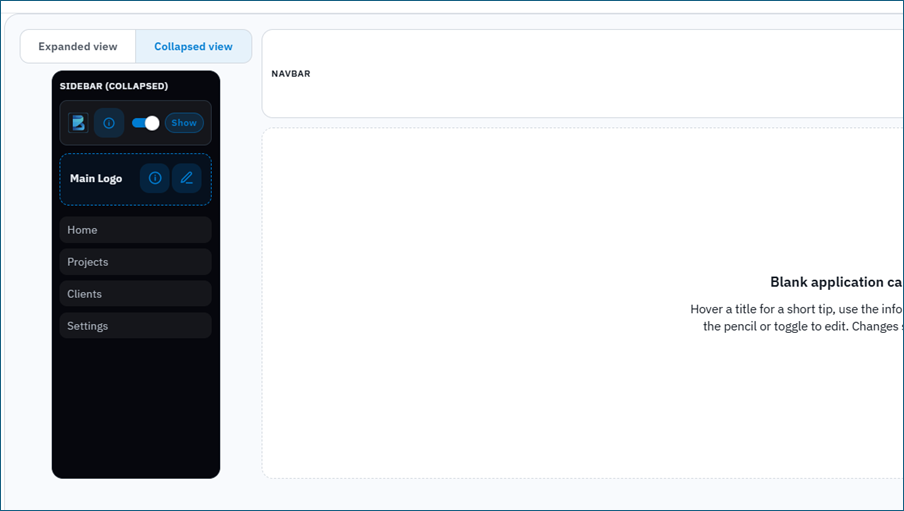
In the Collapsed mode, user has an option to Show/Hide the Default Main logo, but when user uploads a logo and saves it to the server, then the Show/Hide cannot be edited. It will default to Show only.
Click the pencil on a hotspot to open the editor for that spot. Click ‘Done’ in the footer when you have finished.
Changes you already saved remain in effect after you close the canvas.
Main Logo
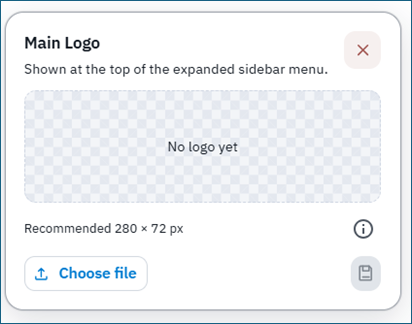
The Main Logo sits at the top of the expanded sidebar. Upload a landscape mark for light theme and a separate mark for dark theme. Recommended size is 280 × 72 pixels. The sidebar displays it at about 144 × 36–40 pixels, so keep clear space around the artwork.
Use colors that read on a light sidebar for the light asset, and on a dark sidebar for the dark asset. Transparent PNG or SVG is preferred.
Support Email
Support email is the address shown in the navbar Email Support popup. Enter a valid email. Leave it blank to keep the system support address.
Main Logo and Powered By Camptra
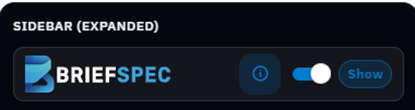
Main logo controls the product Logo at the top of the sidebar. Turn the switch on to show the Default Logo. Turn it off to hide it.
Main Logo On
Main Logo Off
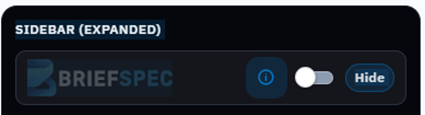
Your tenant Main Logo still shows when uploaded for the current theme. If no tenant logo is uploaded, the top of the sidebar stays empty when the system mark is hidden.
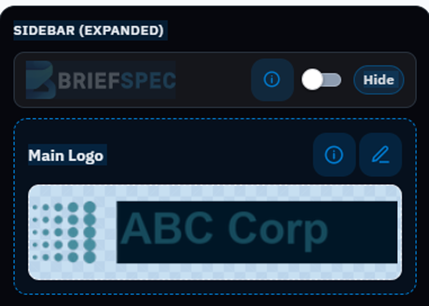
To change the Main logo, I have clicked on the pencil icon for the Main Logo and uploaded the logo of ‘ABC Corp’. It looks like
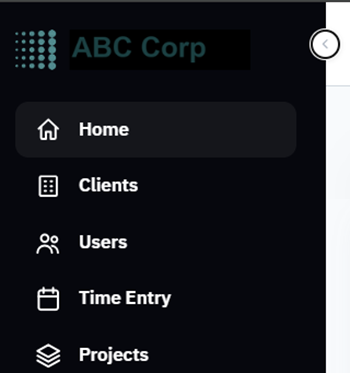
After saving the changes and clicking on ‘Done’, in the main page we can see the Main logo changes.
Powered By Camptra controls the footer mark on the expanded sidebar. Turn the switch on to show the Powered By Camptra logo and label. Turn it off to hide them. This toggle is available only when your plan allows removal of the Powered By mark.
Logo Files
All tenant logo uploads follow the same file rules:
- Maximum file size is 2 MB.
- Allowed formats are PNG, JPEG, GIF, WebP, and SVG.
- Transparent PNG or SVG is preferred.
- Raster files must match the recommended pixel size for that slot. SVG is not checked for pixel size.
If a raster file is the wrong size, BriefSpec reports the required size and the size of your file. You can close and export a correctly sized file, or use Resize when that option is offered so the image is fitted to the slot.
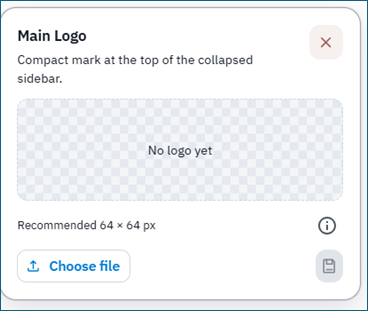
When you click on the pencil icon, the popup displays the recommended sizes for tenant-managed logos.
What You Cannot Change Here
Login logos are managed by the system.
Use Expanded and Collapsed only to preview how the sidebar looks at each width. Upload tenant logos for the expanded header as enabled for your tenant.
Reset Branding
Reset appears in the canvas header after the tenant has at least one branding override. Click Reset, then confirm Reset all.
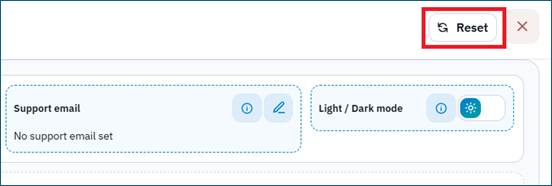
Reset removes all tenant branding overrides: labels, toggles, and uploaded logos. System defaults apply again. This cannot be undone from the canvas. Re-upload logos if you still need them.
Important: Always preview both light and dark themes, and both expanded and collapsed sidebar, before you tell project teams that branding is complete. Confirm support email as they appear to end users.